
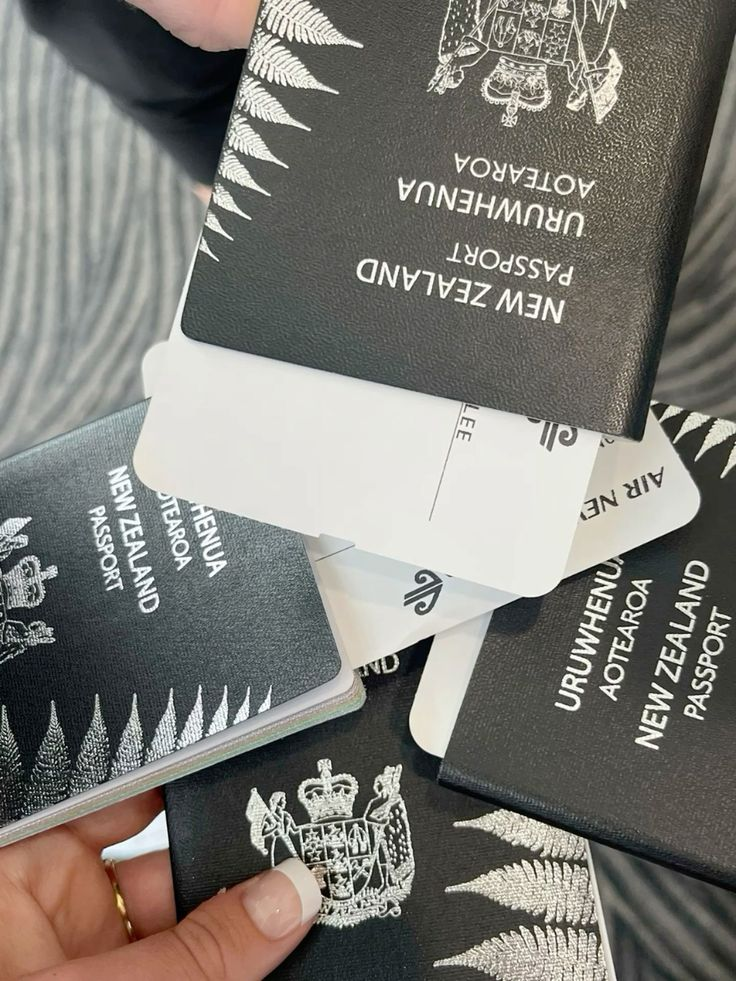
Securing a visa is an essential step for many looking to experience the stunning landscapes, bustling cities, and rich culture of New Zealand. Whether you’re traveling for tourism, work, study, or permanent residency, submitting the correct documentation is vital to a smooth application process—and one commonly overlooked detail is the visa photo. A properly formatted photo is crucial, as even a small mistake can lead to delays or rejection. IN this expert guide, we’ll break down everything you need to know about New Zealand visa photo requirements. From the technical specifications to practical tips for taking the perfect picture, we’ll ensure that your visa photo is accepted with no hiccups. So let’s dive in!
Why Are Visa Photos Important for Your New Zealand Visa Application?
While it might seem like a small part of the application process, visa photos play a key role. Immigration New Zealand (INZ) uses your photo for identification purposes, ensuring consistency across travel and official documents. A clear and accurate photo allows authorities to easily recognize you, which helps with security and processing.A photo that does not meet the requirements will likely result in an application delay—or worse, rejection—requiring you to start over. Following the photo guidelines precisely ensures this part of the process goes smoothly.
New Zealand Visa Photo Requirements: The Essentials
INZ has strict guidelines for visa photographs to maintain consistency and ensure they meet international standards. Below, we’ve outlined the key technical, quality, and compositional requirements:
1. Photo Dimensions and Size
The photo must meet the following size dimensions:
- Physical print size: 35 mm wide x 45 mm high.
- Digital photo size: At least 540 pixels wide x 720 pixels high, with a file size of 500 KB to 10 MB.
The image must include your full head, neck, and upper shoulders, with your face centered and covering 70–80% of the photograph (approximately 32–36 mm from chin to crown).
2. Background Requirements
The background of your photo must comply with these rules:
- Color: Plain, light-colored background (white, off-white, or light gray).
- Texture: Smooth and uniform, with no patterns, shadows, or textures visible.
- Contrast: Your face must stand out clearly against the background.
Photos with blurry, dark, or cluttered backgrounds will not be accepted.
3. Facial Expression and Pose
Maintaining a neutral facial expression is mandatory for your New Zealand visa photo. Here are the key rules:
- Expression: Keep your mouth closed and eyes open, with no smiles, frowns, or raised eyebrows.
- Pose: Face the camera directly with your head centered, not tilted or turned.
- Eyes and gaze: Look straight into the camera, ensuring your entire face is visible.
4. Lighting and Clarity
Proper lighting is crucial for ensuring the photo is clear and meets the required standards. Follow these lighting guidelines:
- Brightness and contrast: The photo must be evenly lit, avoiding shadows or overexposure.
- Color: Must be a true representation of your natural skin tones, with no filters or distortions.
- Clarity: The image must be in sharp focus and high resolution, without graininess or pixilation.
5. Head Coverings and Accessories
- Head coverings: Only allowed for religious or medical purposes, and even then, they must not obscure the face.
- Glasses: Not permitted in visa photos to eliminate reflections and glare. If you cannot remove your glasses for medical reasons, you’ll need a signed exemption from a doctor.
- Jewelry: Minimal, and it must not cover your facial features. Avoid large, reflective accessories.
- Earrings: Small and non-obstructive are acceptable.
6. Children and Infant Photos
For children under 6, the same rules apply, but authorities understand that photographing young children can be more challenging. Here are additional tips:
- Ensure the child’s head is upright (not supported by hands or props).
- No toys, pacifiers, or people should appear in the background.
- Infants can be photographed lying on a plain white sheet for support.
For infants under one year, slight deviations in facial expression are acceptable, but the eyes must remain open.
Common Mistakes to Avoid When Taking a Visa Photo
Even if all the above requirements are met, small errors can still cause your photo to be rejected. Be mindful of these common mistakes:
- Wearing uniforms: Avoid clothing that resembles a uniform, as it may be misinterpreted or disallowed. Choose plain, everyday attire instead.
- Using filters or editing tools: Do not retouch or enhance your photo with editing software. INZ requires a true and accurate representation of your appearance.
- Poor printing quality: Ensure the photo is printed on high-quality photo paper with no scratches or discoloration.
How to Take a New Zealand Visa Photo at Home
It’s entirely possible to take your own visa photo at home, provided you carefully follow the guidelines. Here’s how to do it step by step:
Step 1: Prepare Your Equipment
You’ll need the following:
- A digital camera or smartphone with a high-resolution camera.
- A tripod or a helper to take the photo.
- A plain, light-colored wall or backdrop.
- Proper lighting, such as diffused natural light or soft artificial light.
Step 2: Position Yourself Correctly
- Stand 1–2 meters away from the wall.
- Ensure the camera is at eye level.
- Adjust your posture so your face and shoulders are squarely framed in the photo.
Step 3: Adjust the Lighting
- Use soft lighting from multiple angles to avoid shadows on your face or background.
- Avoid harsh overhead lights that can cast unflattering shadows.
- Turn off flash to prevent glare or red-eye.
Step 4: Take the Photo
- Use a timer or ask someone to take the photo for you.
- Double-check your expression, pose, and lighting before taking the picture.
- Take multiple shots to ensure you have at least one that meets all requirements.
Step 5: Edit and Print (If Necessary)
- Crop the image to the correct dimensions (35 mm x 45 mm for physical or 540 pixels x 720 pixels for digital).
- Do not apply filters, touch-ups, or editing effects.
- Print using high-quality photo paper (for physical submissions).
Professional Photo Services: An Alternative
If you’re not confident about taking your own photo at home, consider using a professional photo service. Most photo studios and passport photo booths are familiar with New Zealand visa photo requirements. Ensure the photographer is aware of the specific INZ guidelines, and always double-check the final photo for compliance.
Submitting Your Visa Photo
Depending on your application method, you’ll need to submit your visa photo either digitally or as a physical print:
1. For Online Applications
- Upload your digital photo directly to your Immigration Online account.
- Ensure the image is in JPEG (.jpg) format and within the required file size limit (500 KB–10 MB).
2. For Paper Applications
- Attach two identical, high-quality physical prints to your visa application form.
- Place the photos in a small envelope and staple the envelope to the form (but not the photos themselves).
Final Checks Before Submitting
Before submitting your photo, review it against this checklist:
- Is the image the correct size and dimensions?
- Is there a neutral expression (no smiling, frowning, or tilting)?
- Is the background plain and light-colored?
- Is the resolution sharp, with no pixelation or blurriness?
- Are there no shadows, filters, or editing effects?
Frequently Asked Questions (FAQs)
1. Can I smile in my New Zealand visa photo?
No, you must maintain a neutral expression with your mouth closed and eyes open.
2. Can I wear makeup?
Yes, light makeup is allowed as long as it does not alter your natural appearance.
3. What happens if my photo is rejected?
If your photo does not meet the requirements, INZ will request a replacement, delaying your application.
4. Can I use the same photo for multiple visas?
If the photo is recent (taken within six months) and meets all requirements, you can use it for multiple applications.
Conclusion
Meeting New Zealand visa photo requirements is an essential step toward a successful application. By paying careful attention to dimensions, clarity, background, and other specifications, you’ll avoid unnecessary delays or rejections. Whether you take your photo at home or use professional services, double-checking your image against INZ guidelines will ensure a seamless submission process. Now that you’re armed with this comprehensive guide, you’re one step closer to exploring the natural wonders and vibrant cities of New Zealand. Don’t let a simple photo hold you back—prepare yours today and focus on your exciting travel plans ahead!